Practicing Traditional Stances
Traditional Stances in Songahm Taekwondo
This article is designed to help the KFMA practitioner of ATA Songahm Taekwondo to work on improving the traditional stances found in our forms. In our style, most of the stances are typically named for the ‘weight shift’ between the legs (middle, back, front, rear, etc). In some other styles, animal names are frequently used (horse, cat, crane, etc.). No matter the name, the importance of the foot position, weight shift and body alignment remain the same.
These stances are designed to help develop strength in the legs as well as balance. Developing correct stances will also help you to maintain the proper lines in your forms. These are not ‘fighting stances’ as used in actual free sparring, but they are an important part of the traditional side of our art.
Now let’s take a look at the six basic stances found in ATA’s color belt curriculum, and presented in the order in which you’ll learn them.
Middle Stance
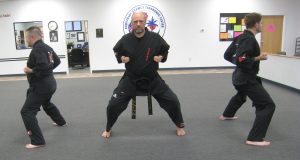
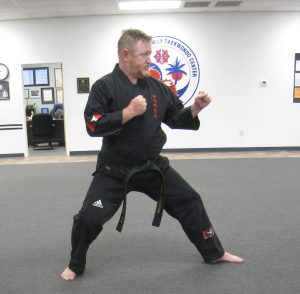
This stance is known in other styles as a ‘horse stance,’ as it is similar to the position of the legs when riding a horse. The feet are wider than shoulder width, with the weight evenly distributed between both legs, and the feet are solidly on the floor. The back is kept fairly straight, and the feet point straight ahead.
Front Stance
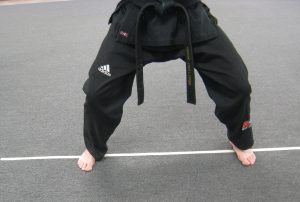
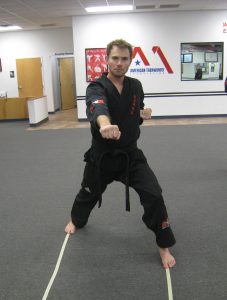
This stance, along with the middle stance, is one of the two basic stances taught to White Belt beginners. The feet are shoulder width apart (or slightly wider) and facing forward, as though you were on train tracks. The weight is primarily on the front leg, with the front knee bent so that you can barely see the front toes. As with the middle stance, the back and chest are kept upright.
Back Stance
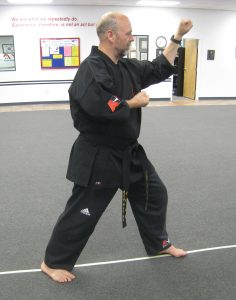
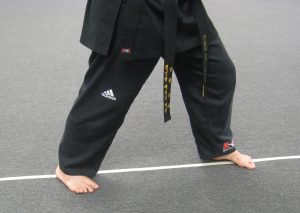
The back stance requires the feet to be at a 90-degree angle to each other, with the heels lined up on a straight line in the direction you are moving/facing. Approximately 65 – 75% of the weight is maintained on the back leg. The lower leg (from the knee to the foot) of the back leg should be as vertically straight as possible, and the front leg should have a slight but noticeable bend to it. The front leg should never be locked out, as this could cause damage to the knee. This stance is first taught at the Orange and Yellow Belt levels.
Sparring Stance
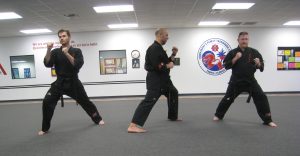
The sparring stance is taught at the intermediate levels of Camo and Green belts, and as the name implies, is designed to acclimate a student to the foot position used in free sparring. The stance is a bit shorter than the middle stance, but not much, and the weight is evenly distributed between both legs. The feet are pointed at a 45-degree angle, and the stance is slightly ‘open.’ This means that the ball of the front foot is on the same line as the heel of the back foot, slightly opening the hips in the direction in which you are facing. Opening the stance too much leaves you in a poor defensive posture, and lining up the feet exactly (closing the stance to a neutral position) would make it difficult to execute kicks with the back leg.
Closed Stance
The closed stance is fairly simple, with the feet standing directly next to each other, with just a slight (but not noticeable) bend in the knees. As with the back stance, be careful to never lock the knees out.
Rear Stance
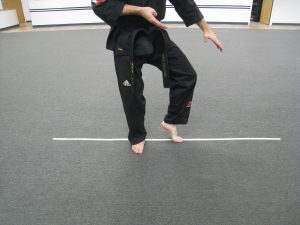
The rear stance appears in the upper level of color belts, (brown and red belt forms), and as the name implies, the majority of the weight (about 90%) is on the rear leg. It should be very easy to quickly pick-up the front leg if needed. The feet are on the same line, and are positioned at a 90-degree angle. There is a short space between the feet, which you can check by putting down the front heel and making sure you have around 6” in distance between the heels. As with the other stances, the standing leg should not be locked out.

We suggest learning these stances first in class, and then practicing them at home. As with any training, should you have any questions, please see one of your certified instructors for guidance.
